How To Prepare For A Trek: Our 10-Step Guide
I still remember the knot in my stomach the night before my first serious trek in the rugged hills outside Murree, back in 2019. I had underestimated everything—how heavy my pack would feel after hour…
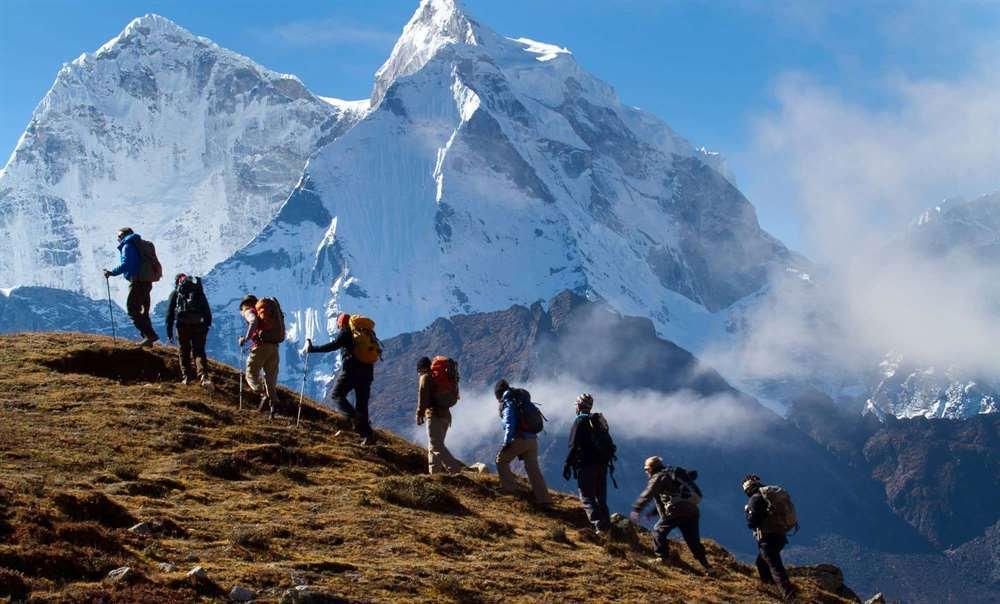
Mountain Trekking
I still remember the knot in my stomach the night before my first serious trek in the rugged hills outside Murree, back in 2019. I had underestimated everything—how heavy my pack would feel after hour…

I still remember the first time I laced up my boots for a proper trek. It was a misty morning in the foothills near the Karakoram range, and within the first hour my legs were…

I still remember my first real mountain trek like it was yesterday. I was in my early twenties, full of excitement but zero experience, staring up at a modest peak in the foothills near home.…